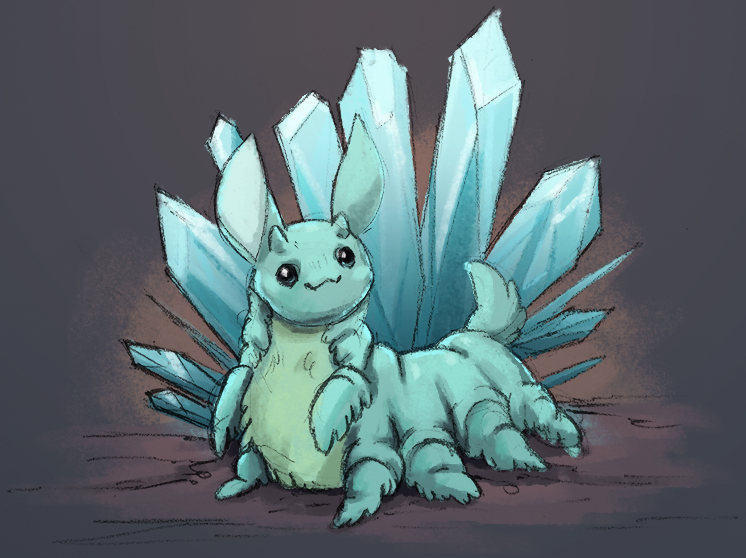
As a 14-year-old sprouting digital artist in the mid-00s, the best way I learned how to create digital art was from my peers. Not the peers I saw daily in Ms. Taylor’s 9th grade English class, mind you; I’m talking about the ever-expanding online communities of teenagers just finding out that there’s more to life beyond creating pixel art with a mouse. We taught ourselves and each other by finding tutorials written by slightly more advanced artists’ methods, sharing them, and adding our own different spins.
At the time, the subject of most sought-out of digital art tutorials was the process of converting an analog drawing to digital. Scanning a clean pencil drawing took little effort beyond figuring out how to use your dad’s 2001 HP scanner (without the original instruction booklet). The true test came when you needed to color that drawing on the computer.
Below I have listed the method as I remember it, with a bonus alternative approach that makes all the difference if you ever need to merge your line drawing with your coloring layers, or if you need to color your original line art. Let’s begin with the basics.
Step 1: Sketch your image as cleanly as possible and scan it. I have already failed this step by using a very poor eraser when I needed to get rid of extra lines, smudging the graphite around instead of actually getting rid of it, but nobody’s perfect. I chose to draw one of the bunny-caterpillar critters encountered in our sound and amplitude learning game, Prisoner of Echo. (If you have trouble digging up a 2001 HP Scanner, your smartphone’s camera will do just fine.)

The raw ‘scan’
Step 2: Increase the brightness and the contrast, or adjust the channel levels or curves of your image by navigating to the top bar and finding Image>Adjustments, and selecting one of the many options. The goal is to get as clean of a black and white image as possible, without losing the fidelity of the drawing itself. You may also need to reduce the saturation of the drawing to remove competing or obvious colors between different light sources that may have exposed your drawing when you took a picture of it.

Cleaned up
Step 3: Turn the drawing layer into a transparent cel image so you can then use additional layers to add color beneath it. If you’re using Photoshop, your drawing is currently displayed as Photoshop’s default ‘Background’ layer, locked as the bottom-most layer. To quickly copy the artwork out of the background layer and into a new one, hold down the CTRL button and press, in individual order, the keys A, then X, and then V. This selects the entire contents of the layer, cuts it out of the layer while copying it to your computer’s clipboard, and pastes it as a new, now editable layer. Change the new layer’s blending setting to Multiply and voila! All of the white becomes ‘transparent’, leaving the darker line art visible. You will then be able to create additional layers behind your line art, and color in as desired.
Coloring directly on top of the line art is certainly an option, but the imperfect, textured lines are peppered with white pixels; you can never get a clear, solid delineation between strokes unless you were to re-draw the line art with a solid brush. This is always an option if you don’t mind treating your original scanned drawing like a sketch to throw out later.

The final product!
This method more or less ‘hides’ the white background of a drawing on paper, but make no mistake, it’s still technically there. If you wish to delete the white background from an image entirely, you’ll need to follow a few other steps. One of our UX Artists found this method in a YouTube video published by One Fantastic Week. The artist takes you through the process, step-by-step.